


Table of contents


No headings in the article.
A few weeks ago, I developed a portfolio utilizing Lightning Web Components (LWC) and Bootstrap, which was subsequently published through the Lightning Web Runtime (LWR) site on the Salesforce Community platform. The following is a detailed, step-by-step guide outlining the process.
Data Model
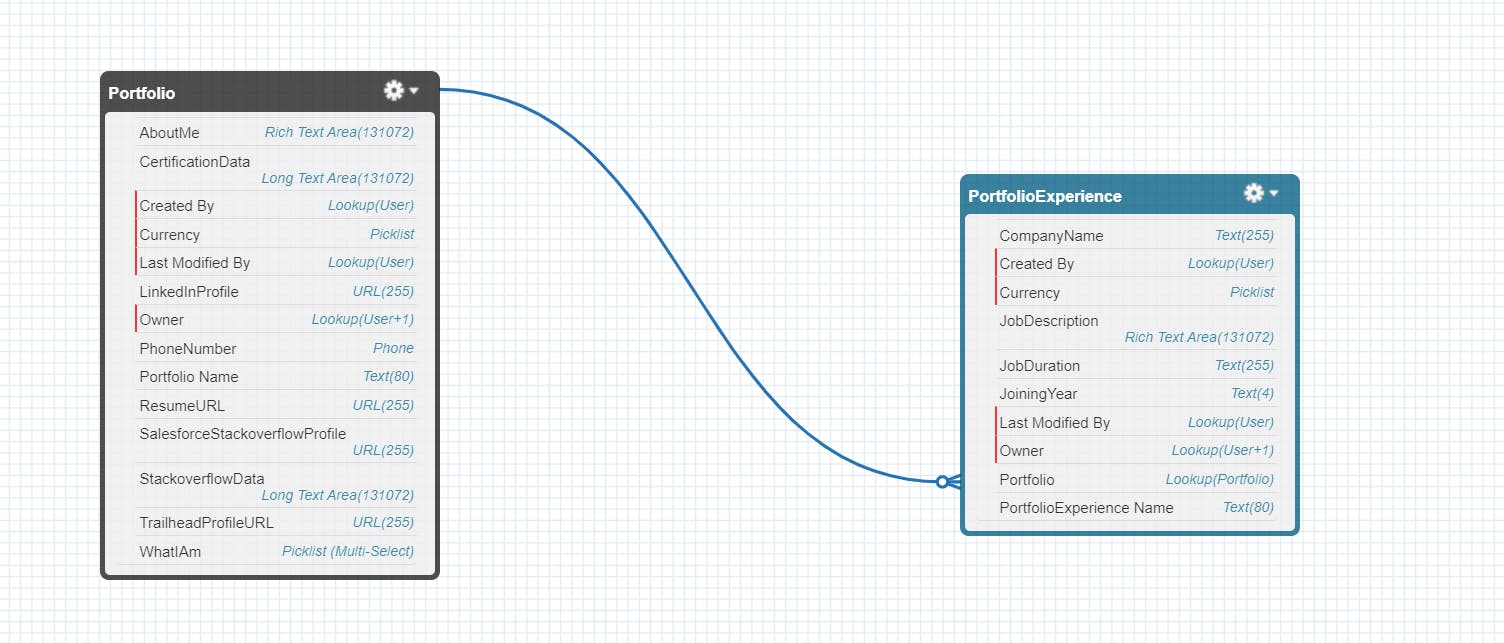
A very simple data model.
Portfolio: This contains data such as "Name", "Phone Number", "About Me" etc...
Portfolio Experience: A child (lookup) of Portfolio which will hold your experience.
Create LWC component
Now, let's dive into the exciting part - coding! We'll craft a cool LWC component, sprinkle in some CSS and JavaScript magic, and voilà! We'll have an awesome effect on our site. Ready to get started? 😄
As the snippets would be too long I have posted the code in the public GitHub repository.
Explaining a few things from a Javascript perspective:
The typewriter effect which shows (Passionate Code, Salesforce Technical Architect and Web Developer) on the website comes from this line of code

     sleep(ms) {
         return new Promise(resolve => setTimeout(resolve, ms));
     }

     async typingEffect(element, speed, text) {
         element.innerHTML = "";
         let i = 0;

         while (i < text.length) {
             element.append(text.charAt(i));
             i++;
             await this.sleep(speed);
         }
     }

     async startTypeWriter() {
         const element = this.template.querySelector(".innerDesc");
         const speed = 50;

         while (true) {
             let strings = this.whatAmI.split(';');

             if(strings.length === 0){
                 await this.sleep(2000);
                 continue;
             }
             for (let i = 0; i < strings.length; i++) {
                 await this.typingEffect(element, speed, strings[i]);
                 await this.sleep(2000);
             }
         }
     };
The certification data which shows up with a logo and earned date is also dynamic and comes from a little bit of R&D on the trailhead page.
Let's fetch the JSON data for showing Certification data now.
Navigate to https://trailhead.salesforce.com/credentials/verification
Enter your email under the "Verify a Salesforce Certified Professional" box.
Click the "Search" button and now wait. DONT finish the reCaptcha.
Press F12 on Chrome and open the Network tab.
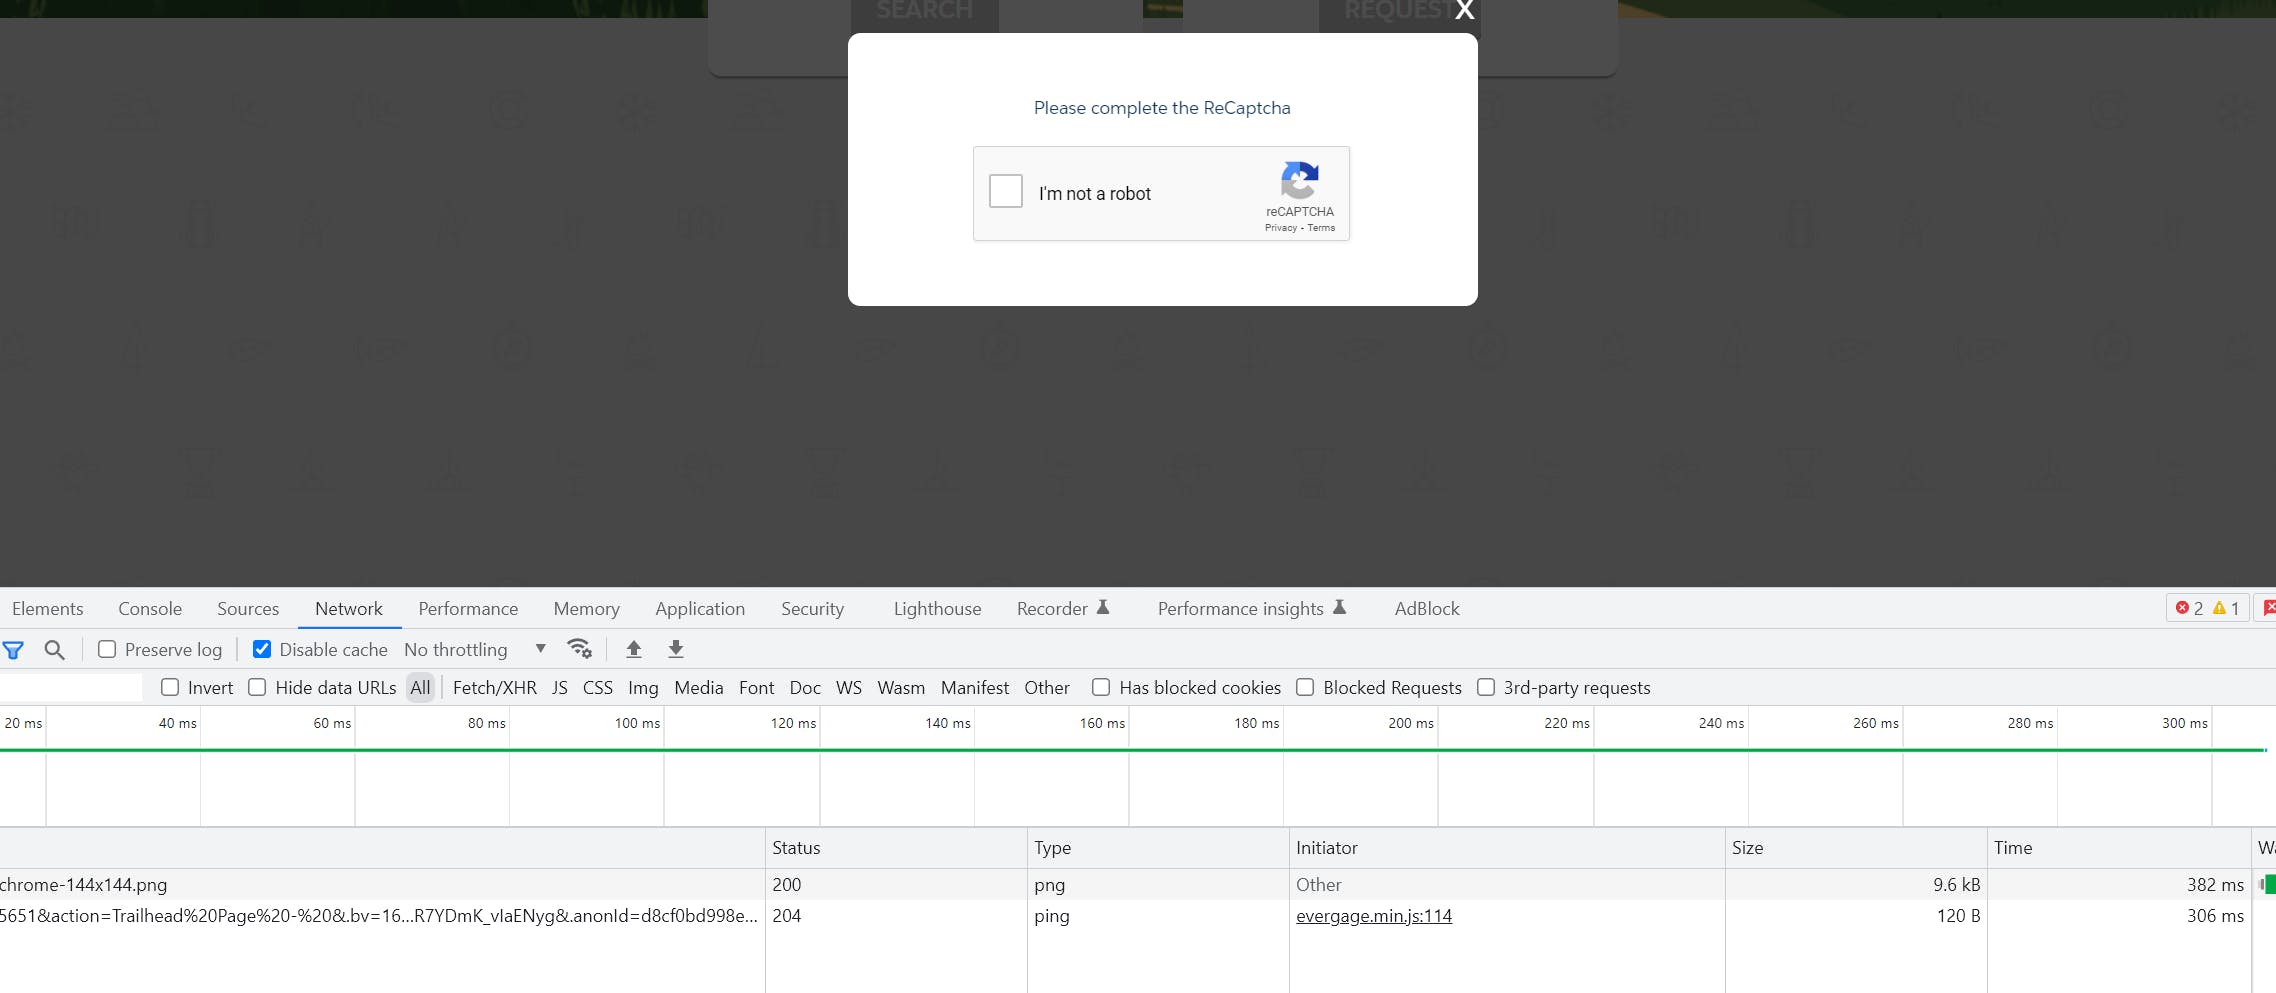
Press F12 on Chrome and open the Network tab and then click on "I'm not a robot"
Now, once the result is displayed select the XHR request as displayed below.
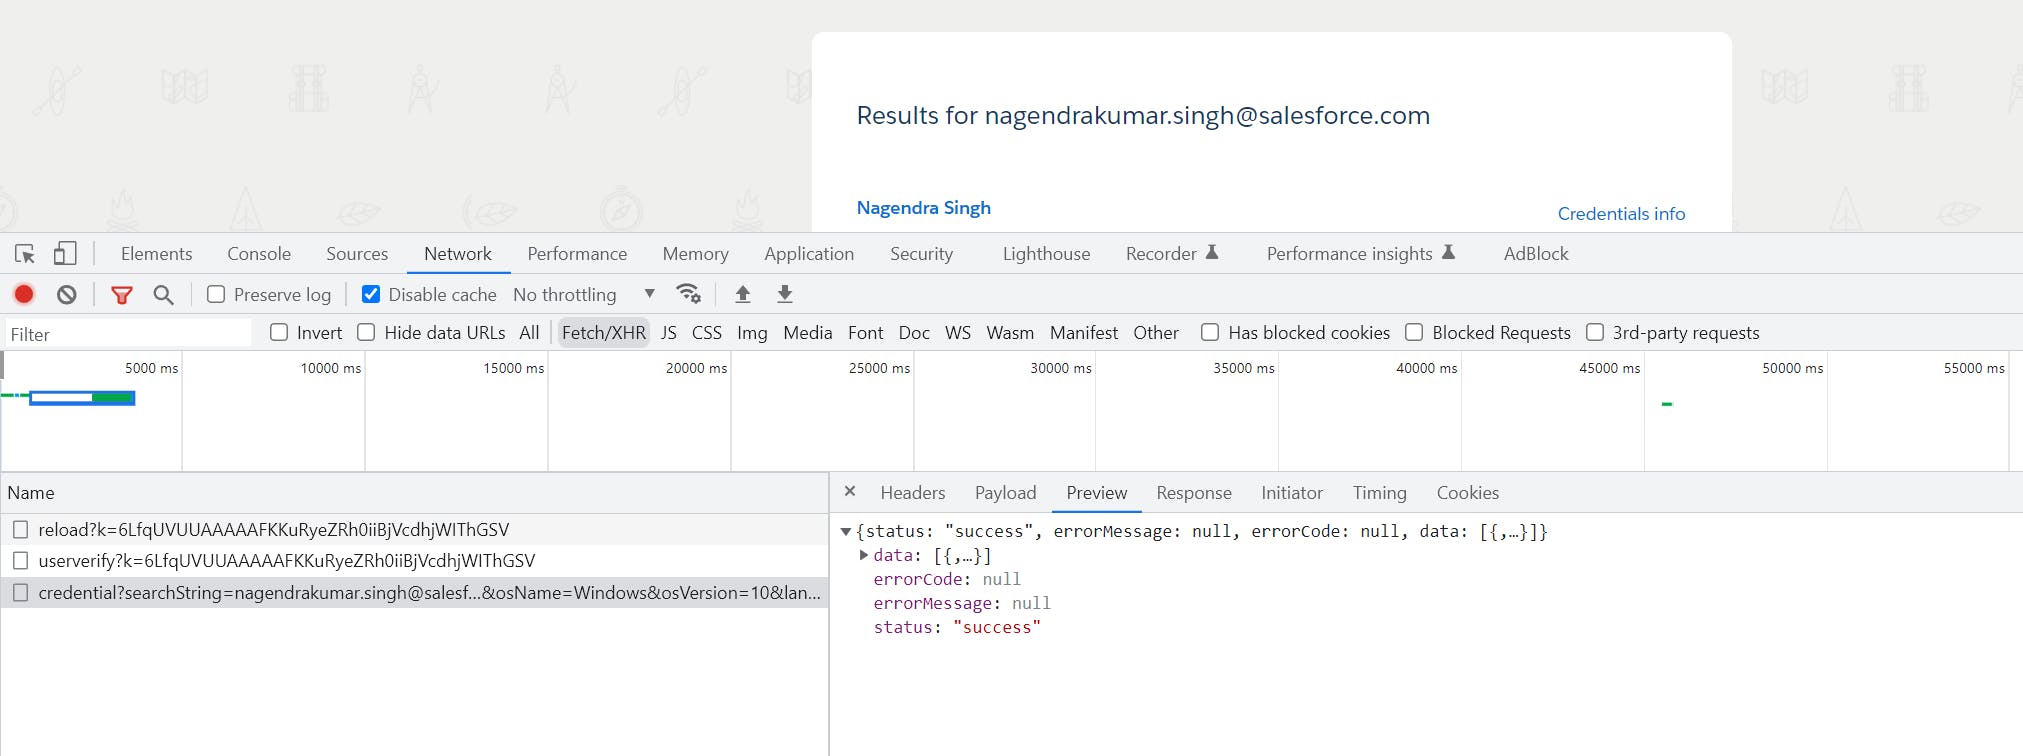
Expand the "data" node till you see your data under node as shown below. Copy it and convert it to JSON data using this.
JSON.stringify(JSON.parse('YOUR_COPIED_DATA').data[0])
And paste this in CertificationData__c under Portfolio.
The LWC will automatically segregate images and required data and display them on the UI
Create a downloadable PDF of your resume
To make sure your resume PDF is accessible to everyone, you'll need to upload it to a public location. No worries, it's super easy! Just follow these steps:
1. Head over to the "Files" section and upload your resume there.
2. Once it's uploaded, open the file and look for the "Public Link" option at the top.
3. Click on it and create a public link for your file.
That's it! Now your resume will be available for all to see.
Add this link under the ResumeURL__c field on the Portfolio__c object.
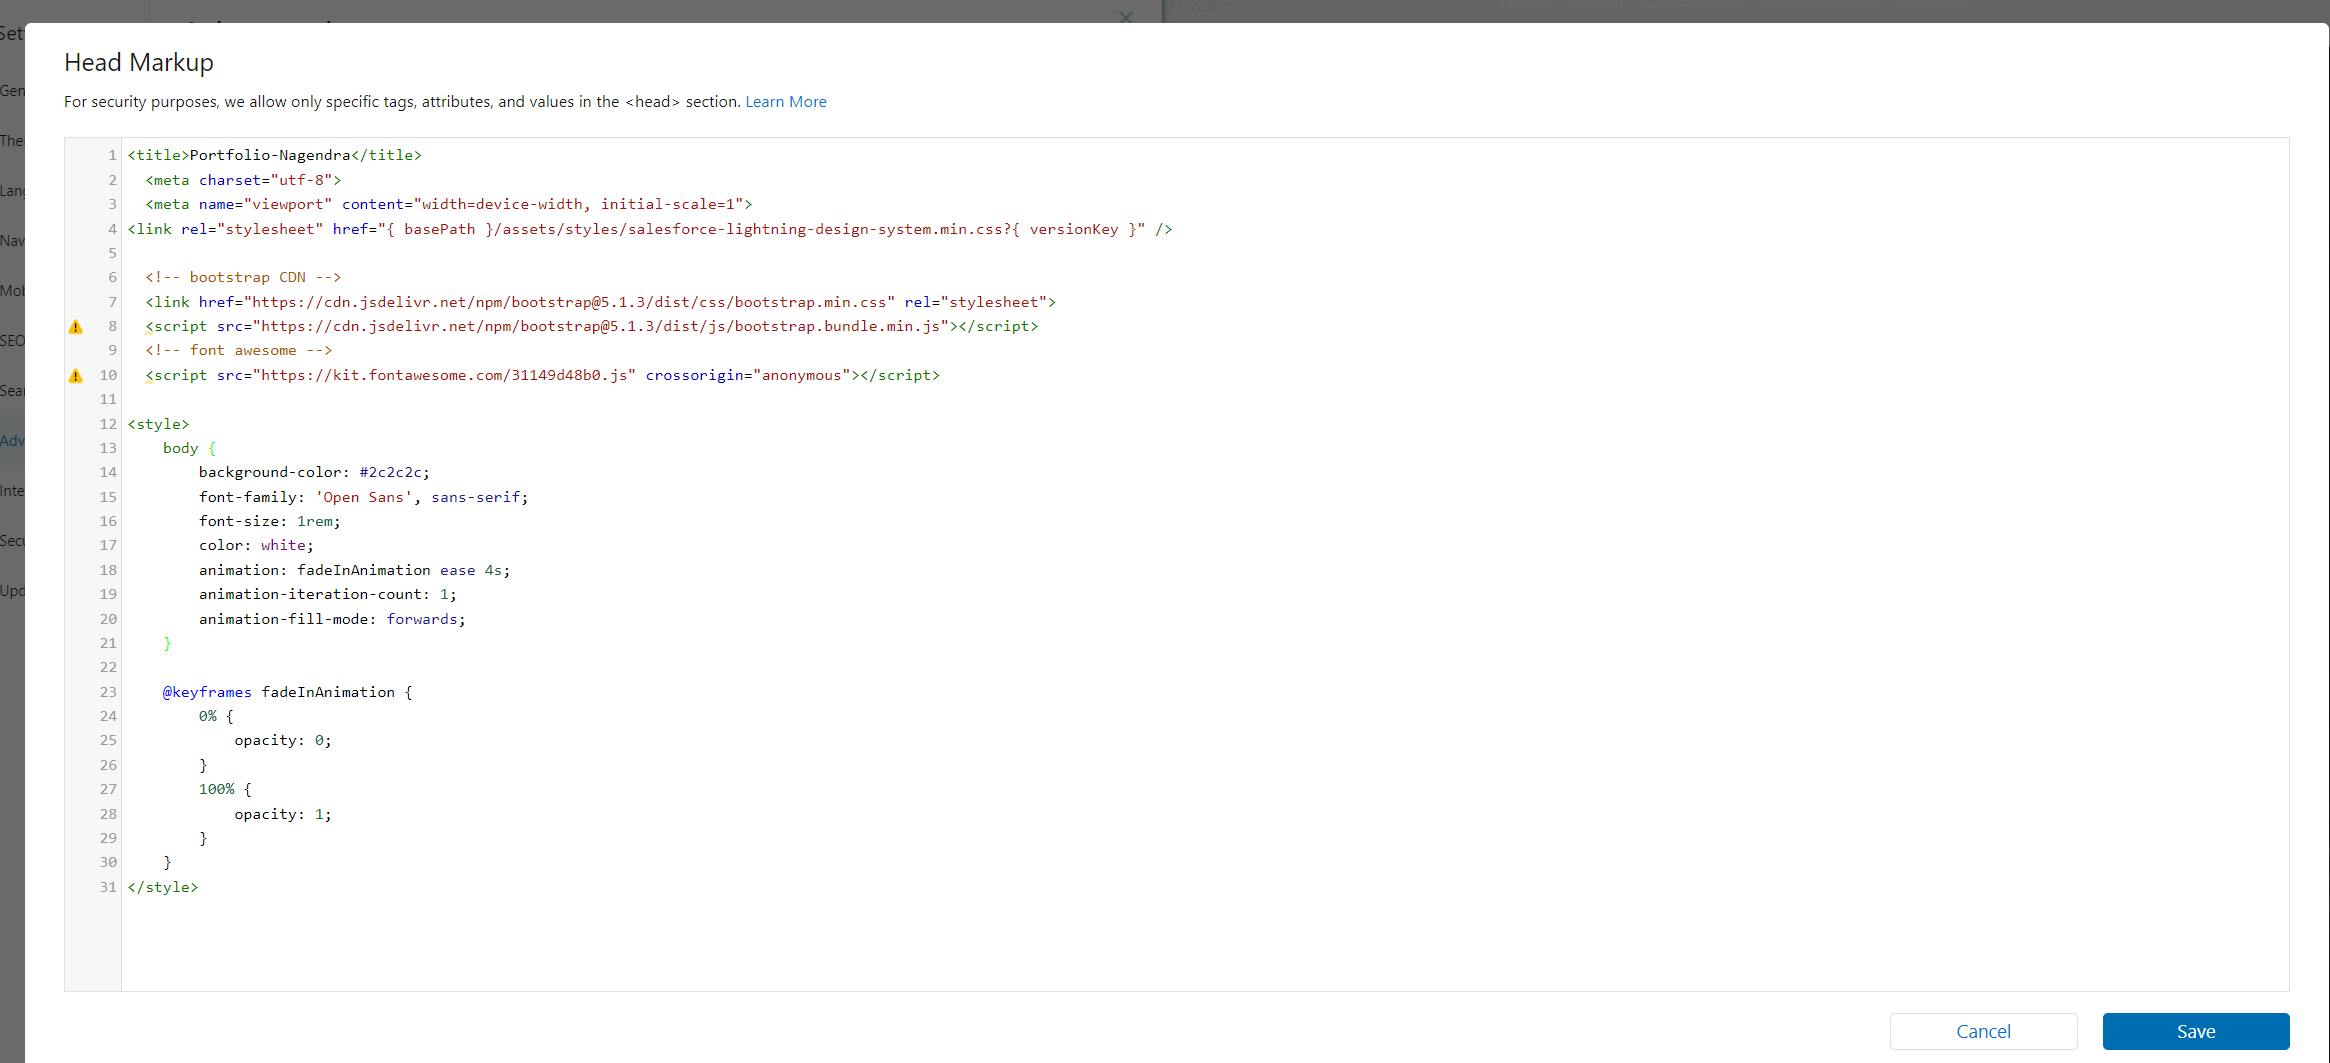
Add BootStrap to your site to make it responsive
From your site builder, you need to edit the head markup and add a stylesheet related to bootstrap5. Also, check the custom <style> tag which is added for body animation when it loads.
Add Google Analytics to check your Site Analytics.
Now let's add a Google tag to see how often is your portfolio visited and to view a few more useful analytics.
Follow these steps to create a GTag Id.
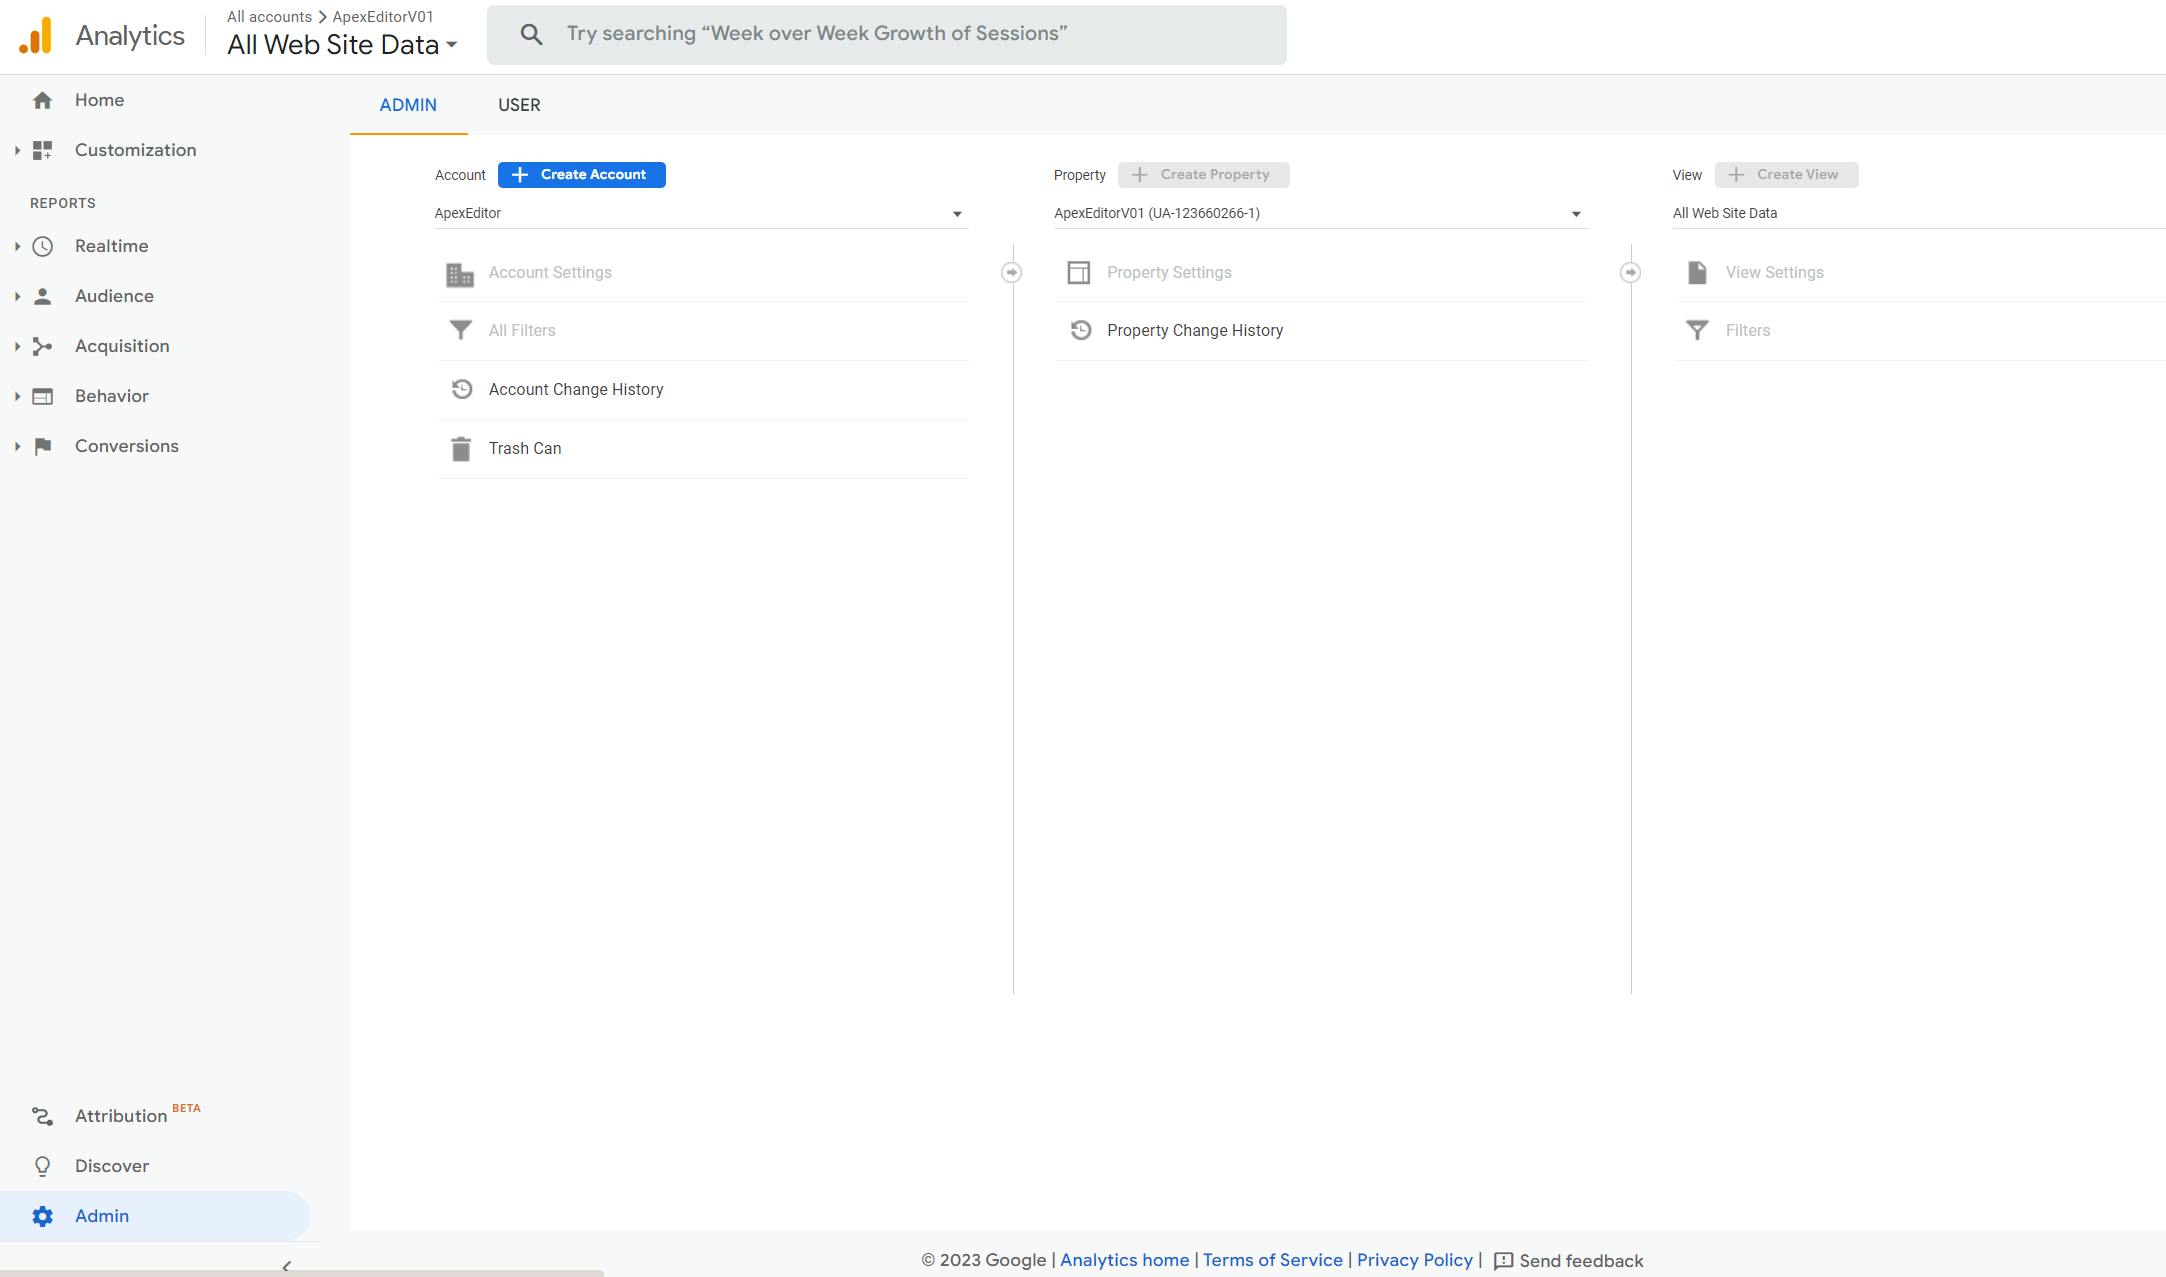
Navigate to https://analytics.google.com/
Go to the admin panel and create an account.
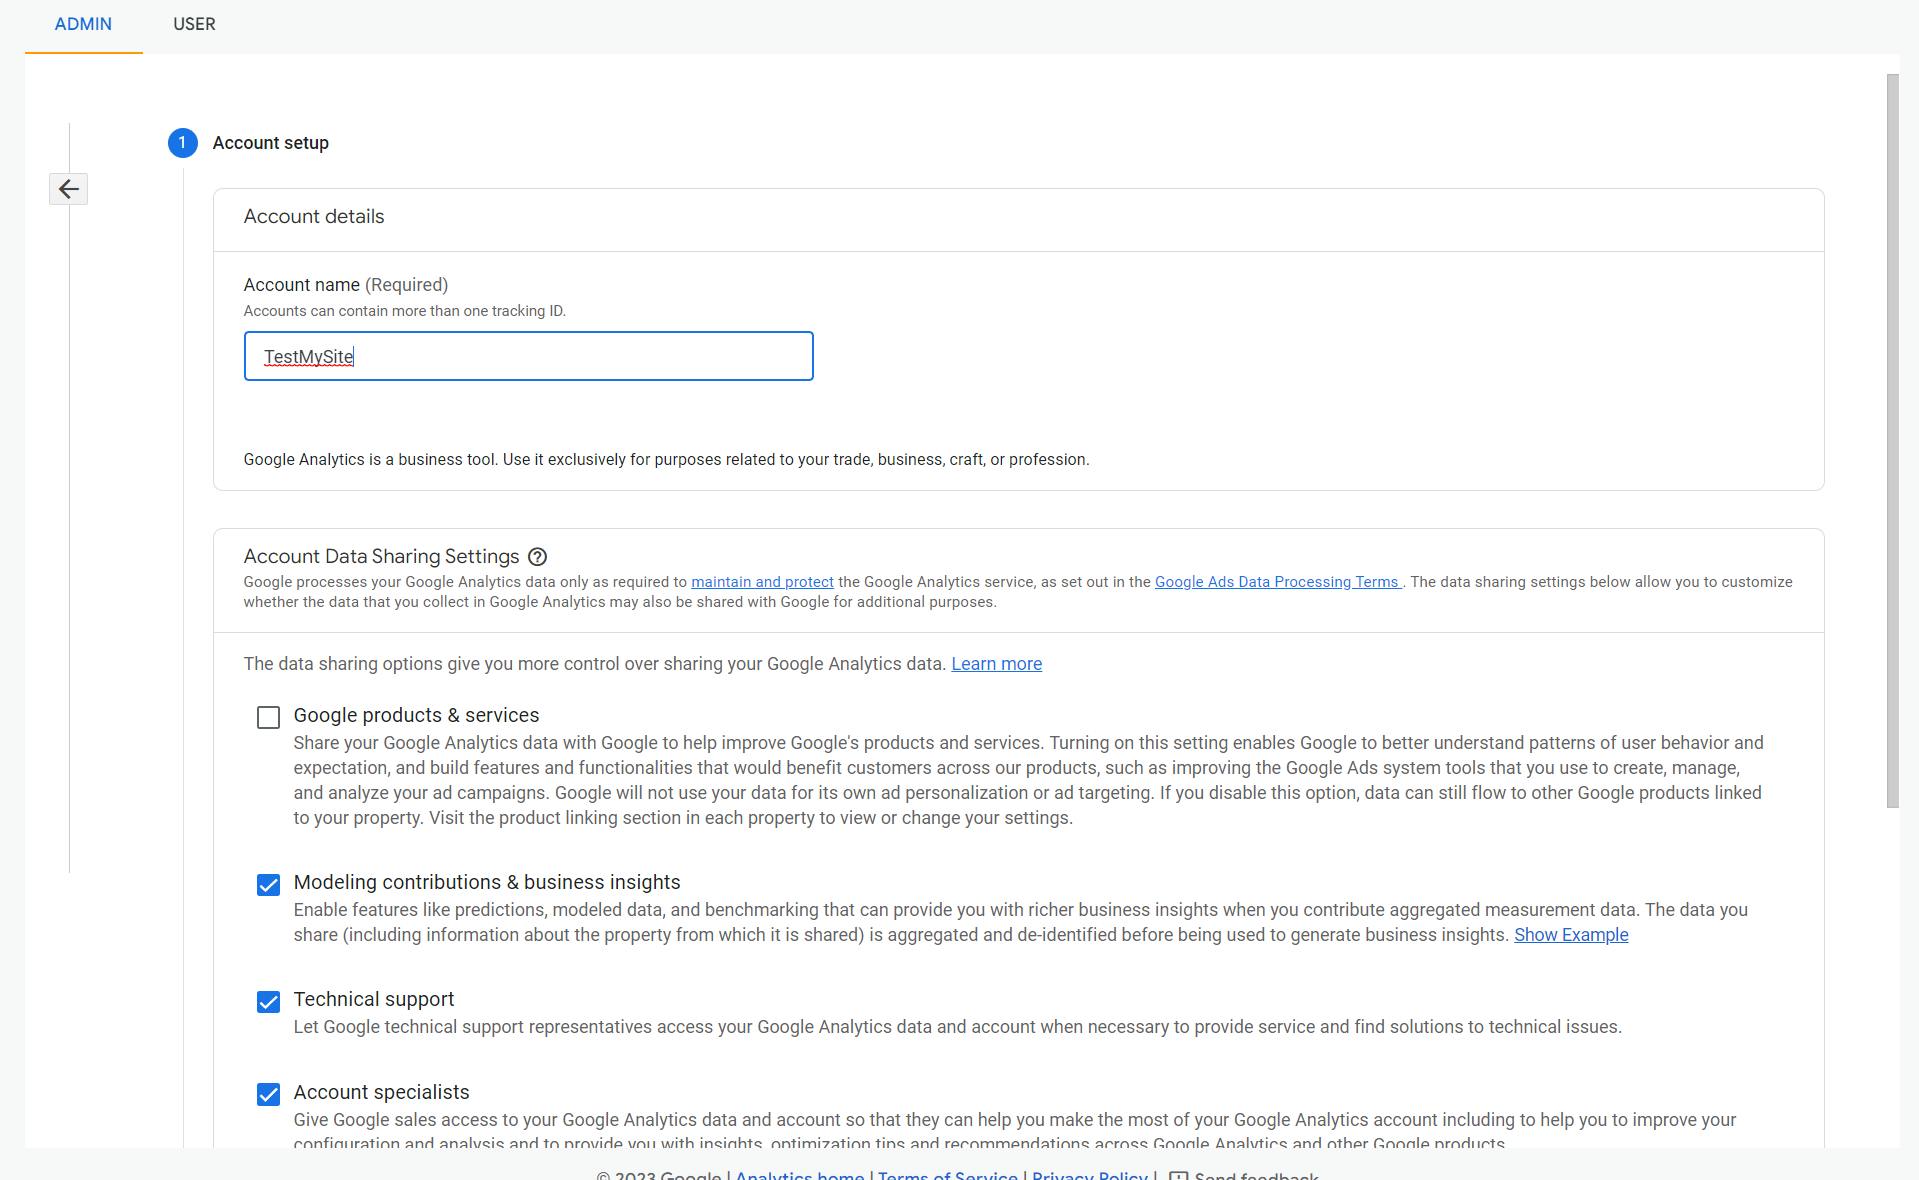
Add a name.
In the next screen add a property name and select the appropriate time zone and currency.

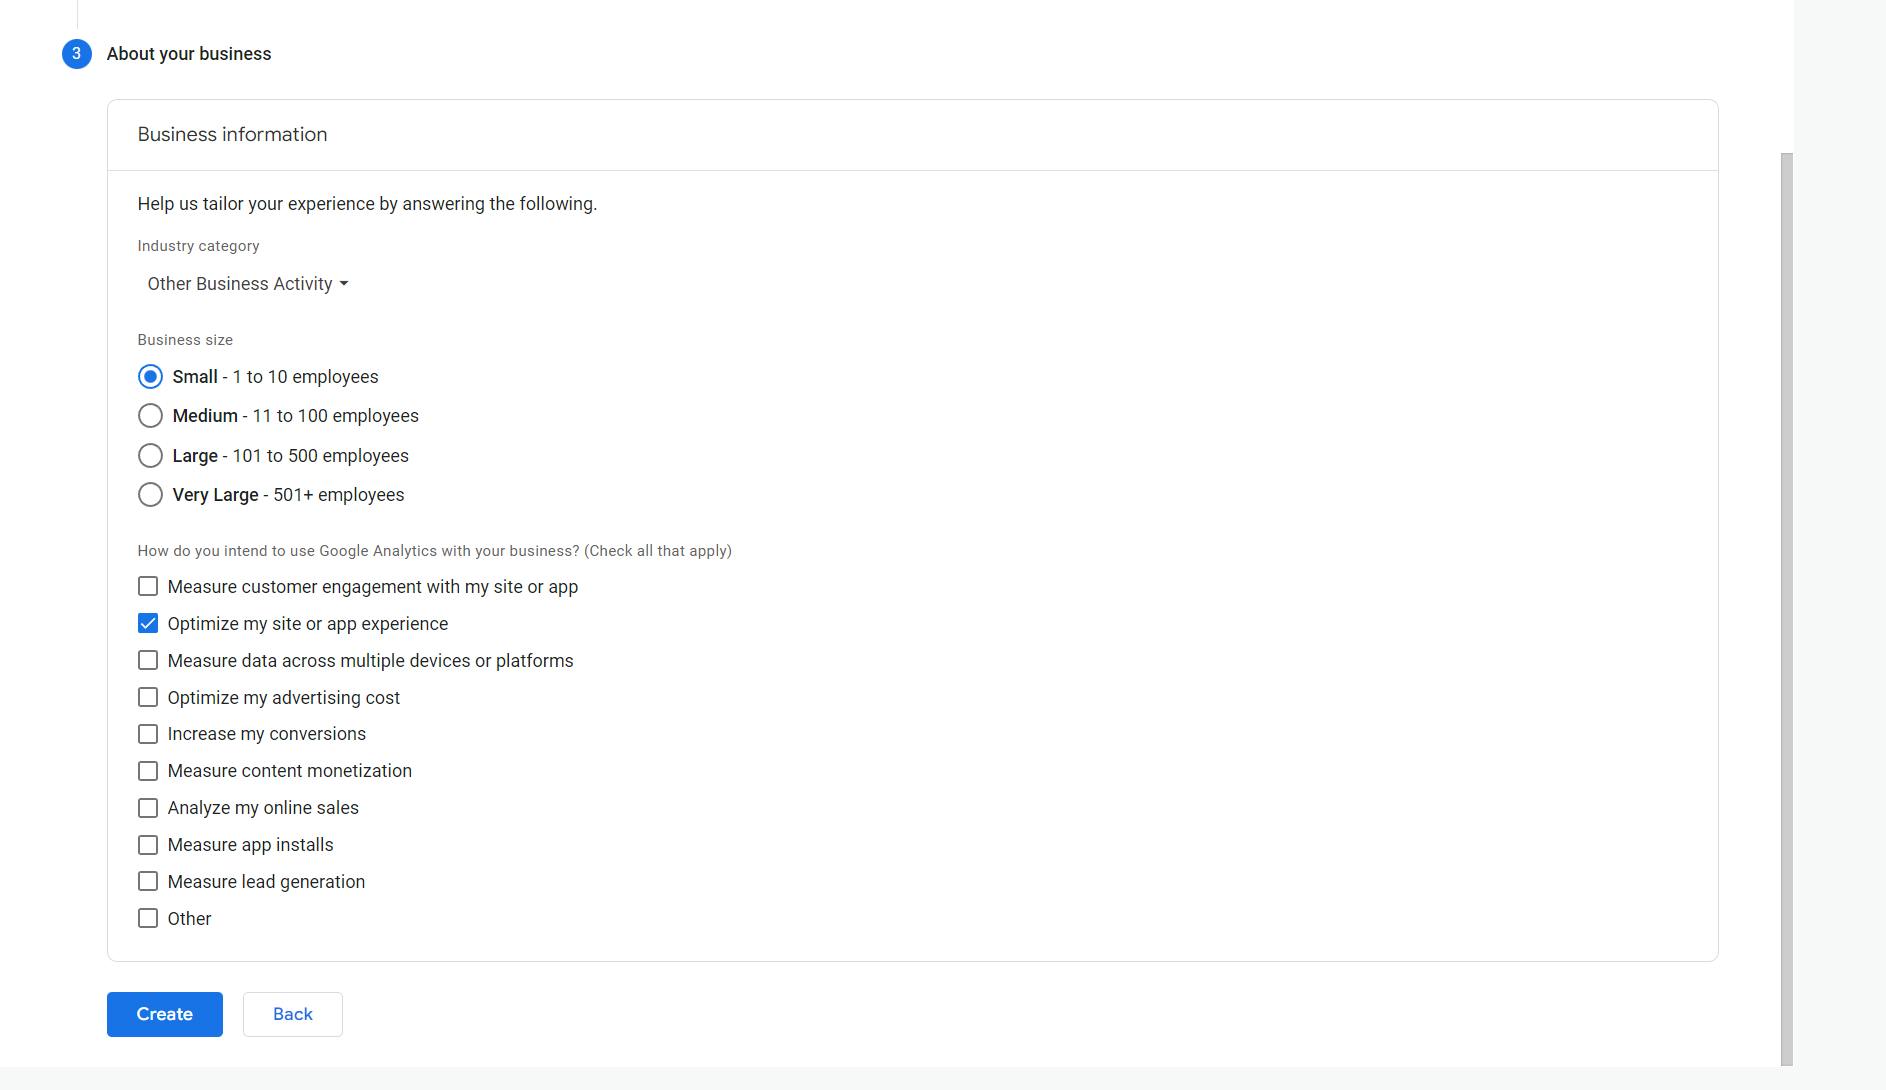
In the "About your business" section just select generic stuff as we are not running any business. Click Create and accept the Terms and Conditions.
Select "Web" from the next page and enter your Site's URL.
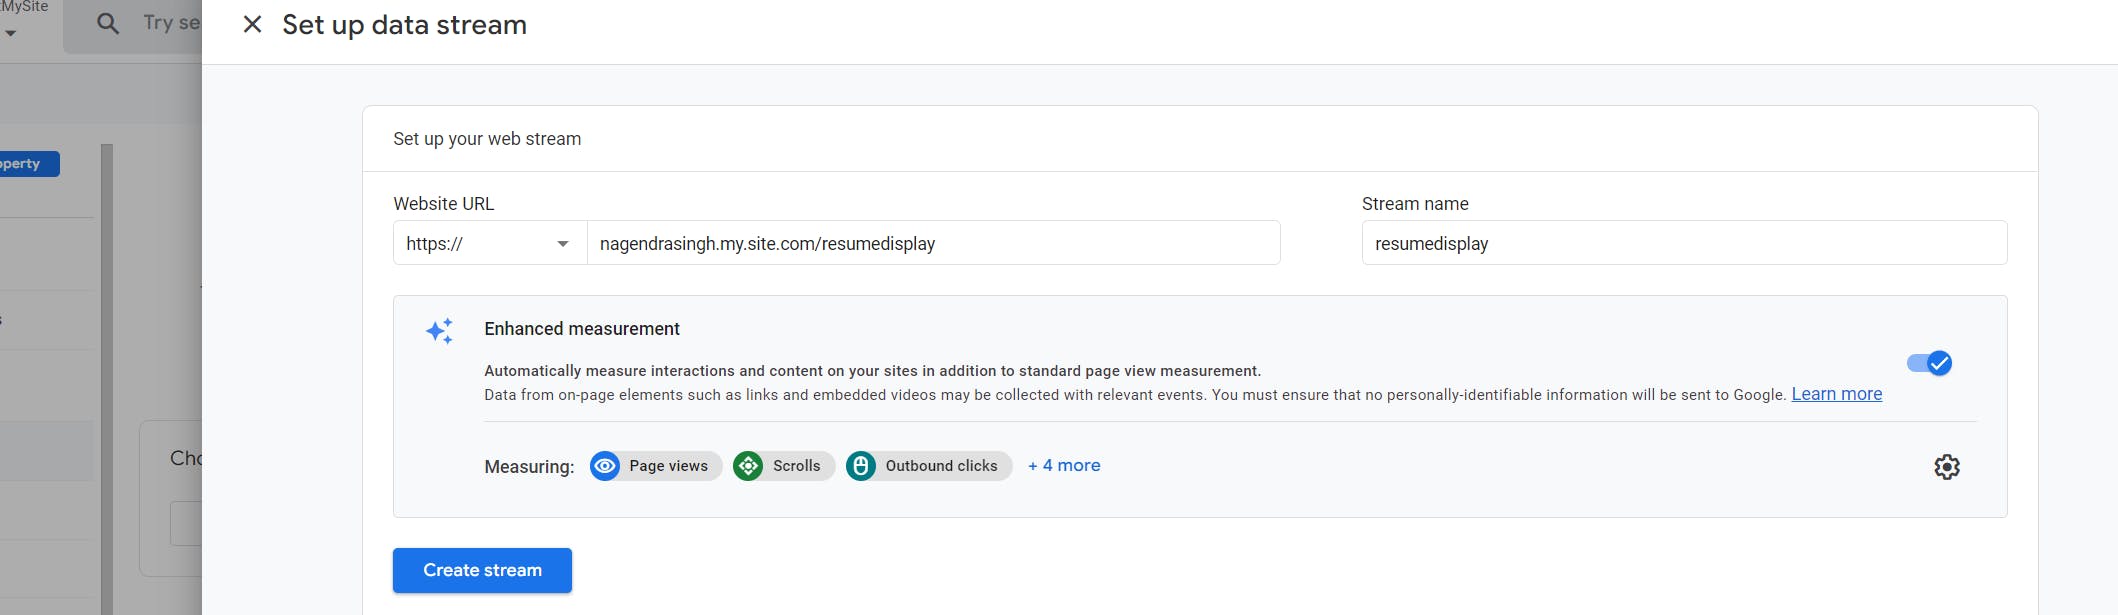
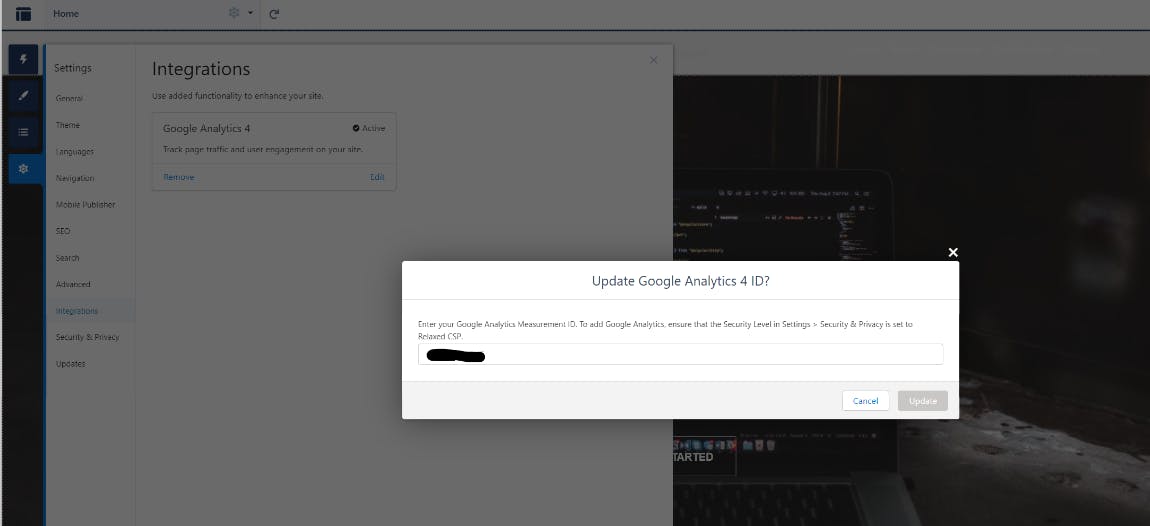
Once you click "Create Stream", on the next page you can see a Measurement ID starting with G-*********
Copy this, and open your Site builder in Salesforce. navigate to the Integrations tab and add this ID there.
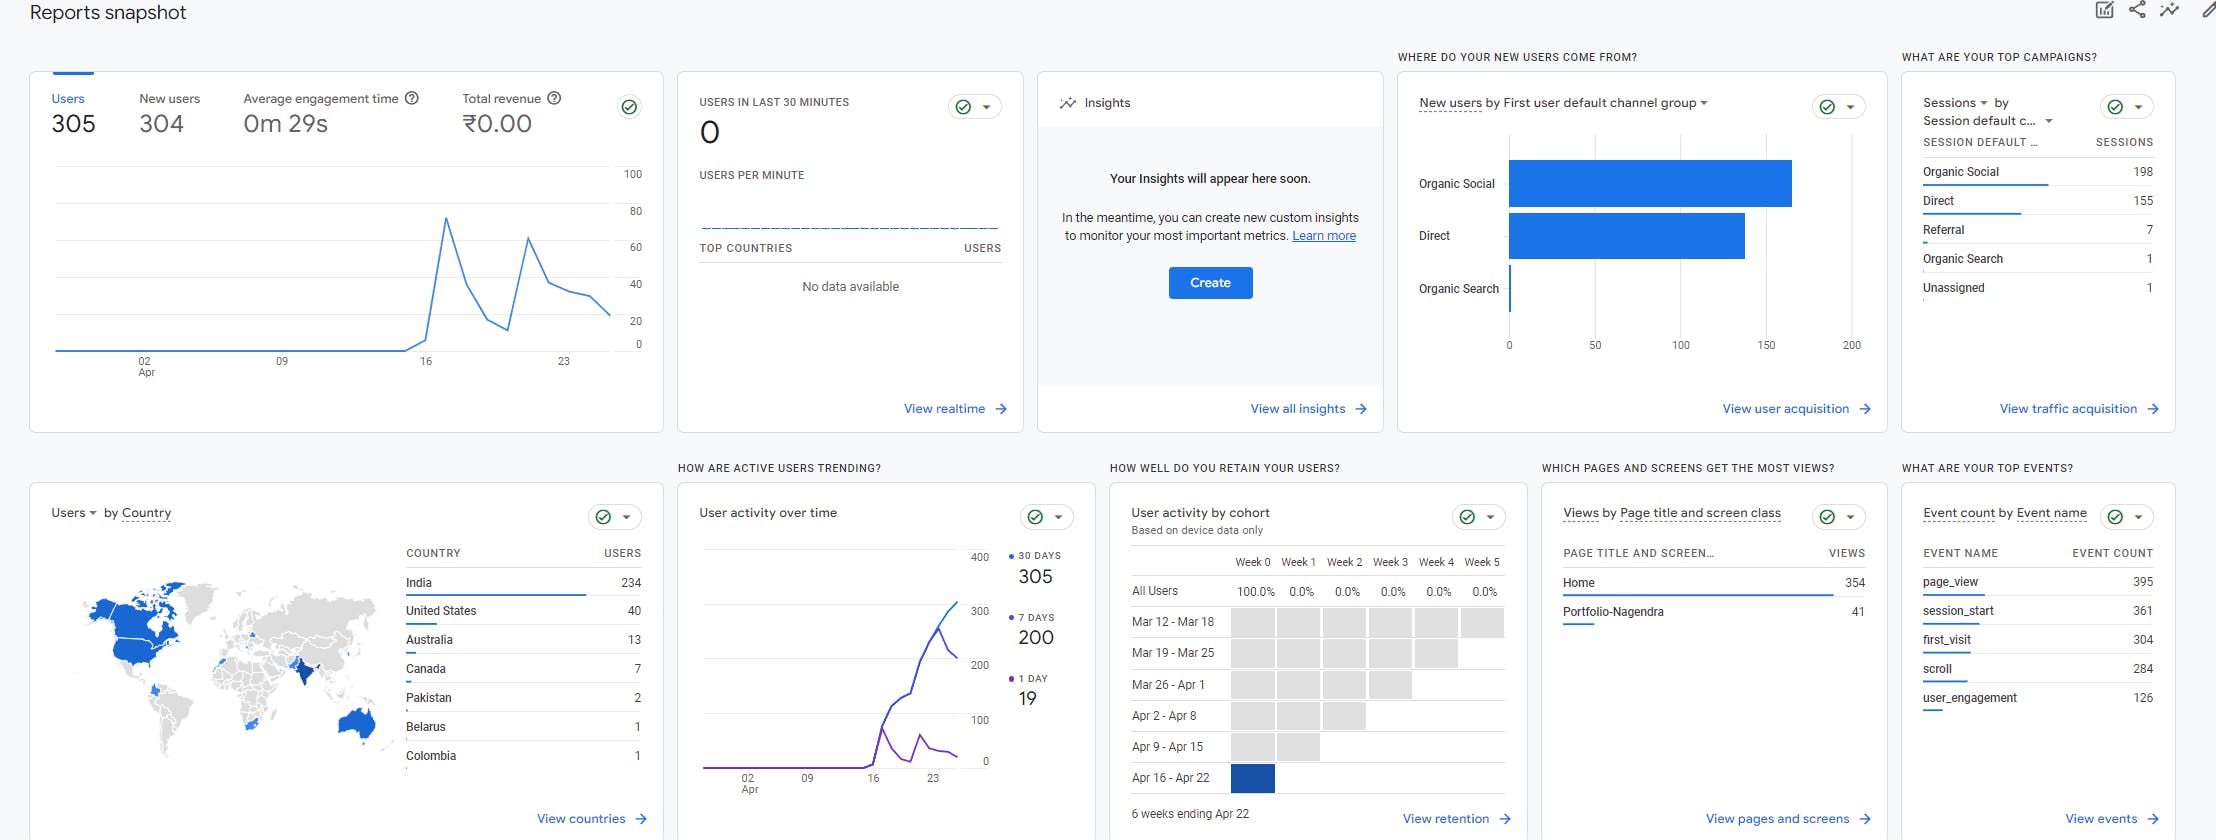
This integration will show some informative data on your google analytics dashboard. Such as below.
Awesome! You've successfully hosted your portfolio on the LWR site and integrated it with Google Analytics. Now, instead of sharing just a plain PDF resume, you can impress recruiters by showcasing your talent through your very own Digital Portfolio. Enjoy!
Sharing the Github repo link once again. Fork it and modify. Contact me if something is not working and I can take a look at it.
This article provides a step-by-step guide to creating a portfolio using Lightning Web Components (LWC) and Bootstrap. It also outlines the steps to create a GTag ID for Google Analytics, which involves creating an account, adding a name, selecting a time zone and currency, entering a website URL, and copying the Measurement ID.